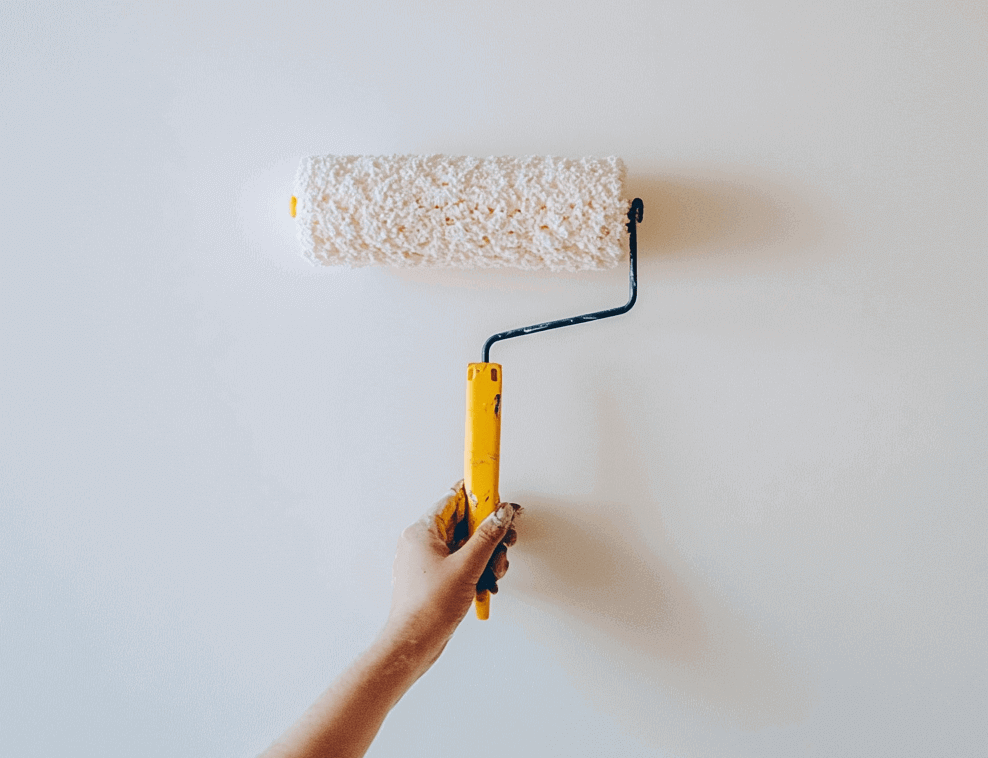
Wallpapering correctly: Instructions and tips for beginners
A change of wallpaper can work wonders and papering the walls yourself is not that difficult. Find out what materials and tools you need and how to prepare the walls in advance. We provide you with instructions for wallpapering, tips and answers to the most important questions about special features such as windows, doors and sloping ceilings. Swing the ceiling brush and redesign your home.
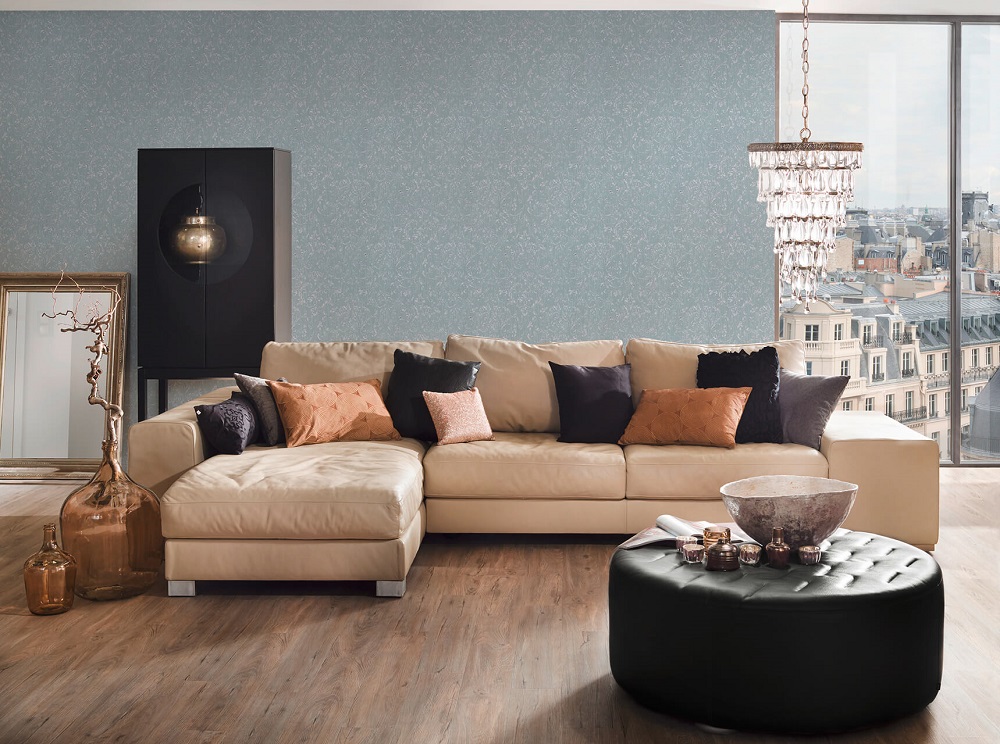
Wallpaper can turn the entire effect of a room around and transform a room from “zero-eight-fifteen” to “wow”. However, before you wallpaper a wall, you should check certain requirements to ensure that your project succeeds and that you are happy with the result afterwards.
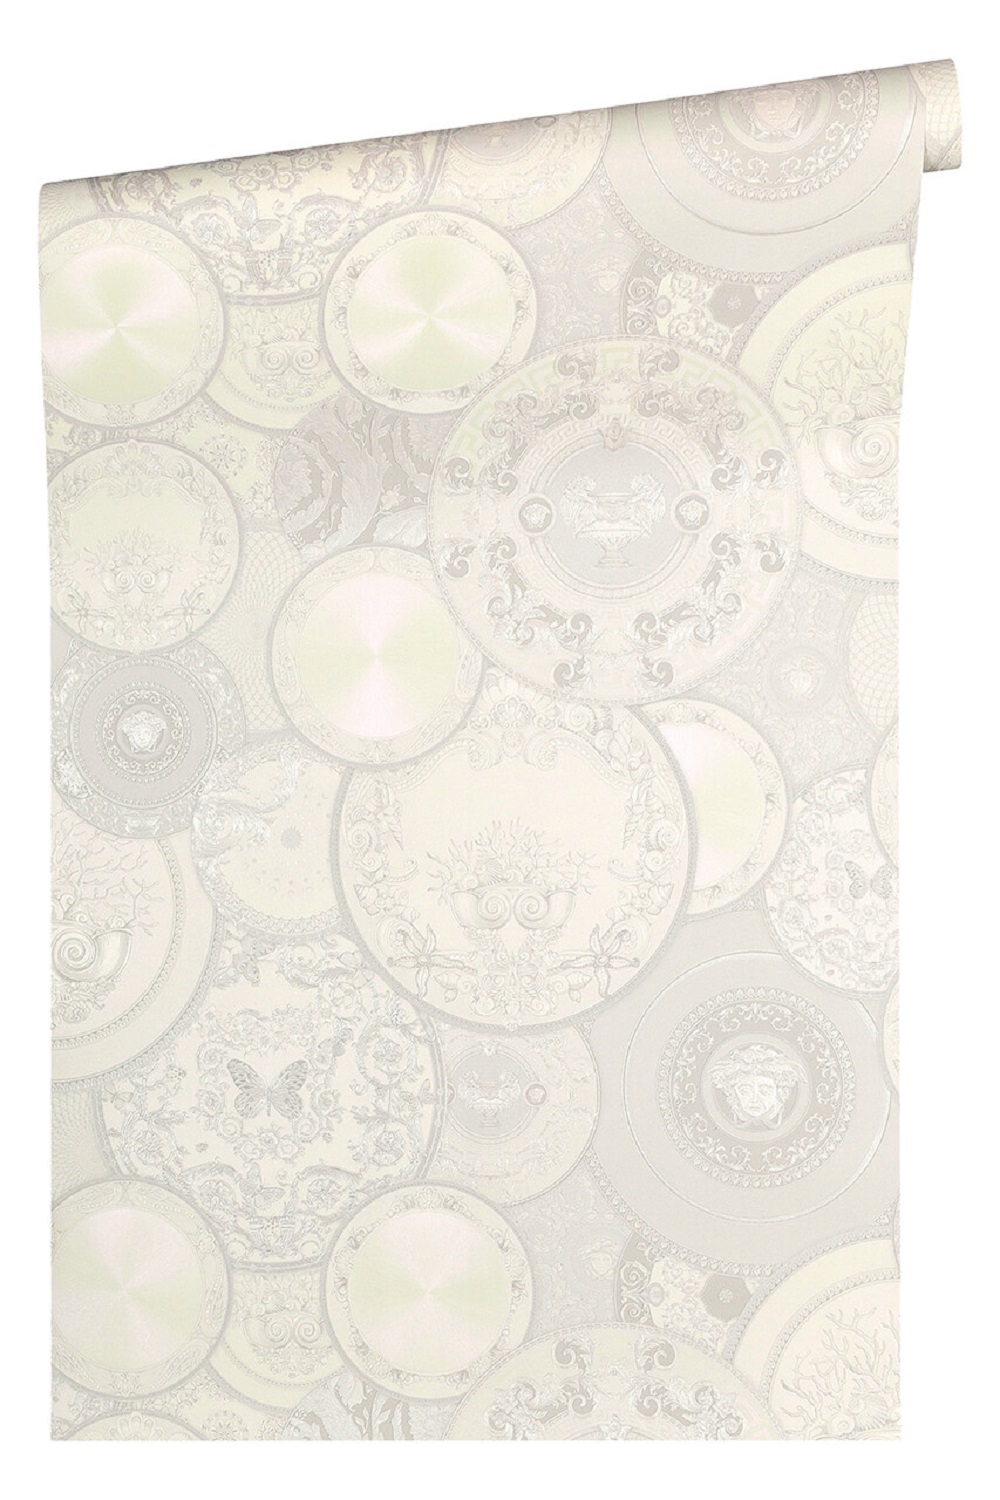
Tips for choosing wallpaper
The first step in wallpapering is to choose a suitable wallpaper. Keep this in mind when making your decision:
the material and properties of the wallpaper
the method of application (self-adhesive or with paste)
and above all the dimensions given.
The latter is so important because you cannot extend photo wallpapers at will. Always include wall protrusions and indentations of the wall in question. This can significantly influence the fit and effect of the motif. You cannot use savings from doors or windows in any other place.
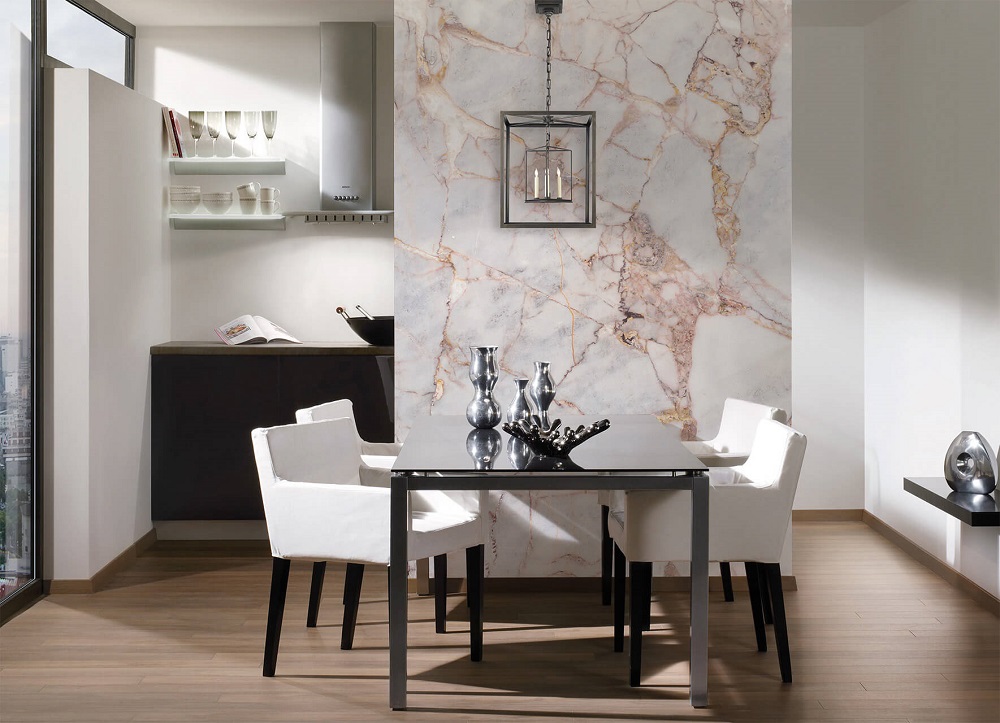
We recommend that you choose a single wall in the room to create an accent wall with decorative wallpaper. Buy a wallpaper that is at least 10 centimeters larger than your wall so that you have enough room for positioning and can be sure that the wallpaper is large enough.
At KunstLoft you enjoy the advantage that the wallpapers can be glued butt to butt – no repeat and no additional calculations. Thanks to the fixed sizes, you only have to measure the absolute length and width, select the right size and order the wallpaper. Then you can get started. We have compiled more interesting facts about wallpapers from KunstLoft in our overview.
Wallpapering correctly only with the right substrate
The second prerequisite for applying wallpaper is the preparation of the substrate. This should be dry, clean, smooth, firm and absorbent so that the wallpaper adheres well.
Dry substrate
Let the wall dry out before you wallpaper it. You can check whether a wall is dry by attaching a piece of clear film to the wall. Tape the film on all sides. If condensation forms behind the film overnight, you know you should wait before you start wallpapering.
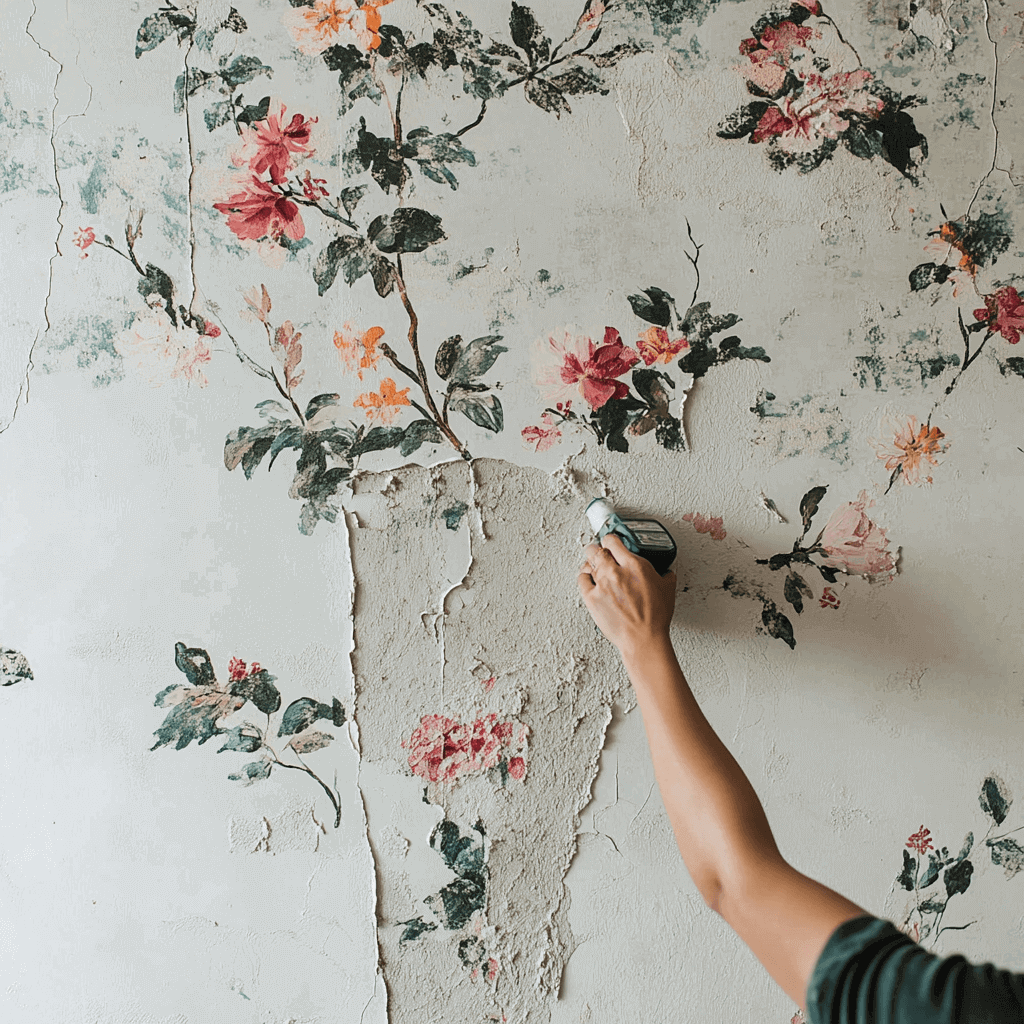
Clean substrate
If present, you must first remove old wallpaper. To do this, use a spray bottle with a mixture of water and washing-up liquid or vinegar, or get some wallpaper remover. Perforate the wallpaper with a nail roller to allow the moisture to penetrate and the paste to loosen.
In a new building, it is more about removing dust and dirt from the wall. You can do this with a brush or a dry cloth.
Smooth surface
Small irregularities in the wall are hardly noticeable with non-woven wallpaper, but they are easily visible with paper wallpaper. Repair cracks and missing plaster in advance with filler and putty.
Solid and absorbent substrate
Walls where the plaster is already flaking off when scratched with a spatula or where clear abrasion is visible should be pretreated with a primer. Apply wallpaper primer to the entire surface. Walls that are too absorbent, recognisable by the dark spots that form when you spray water on the wall, should also be prepared with a primer. This applies to plasterboard or mineral surfaces.
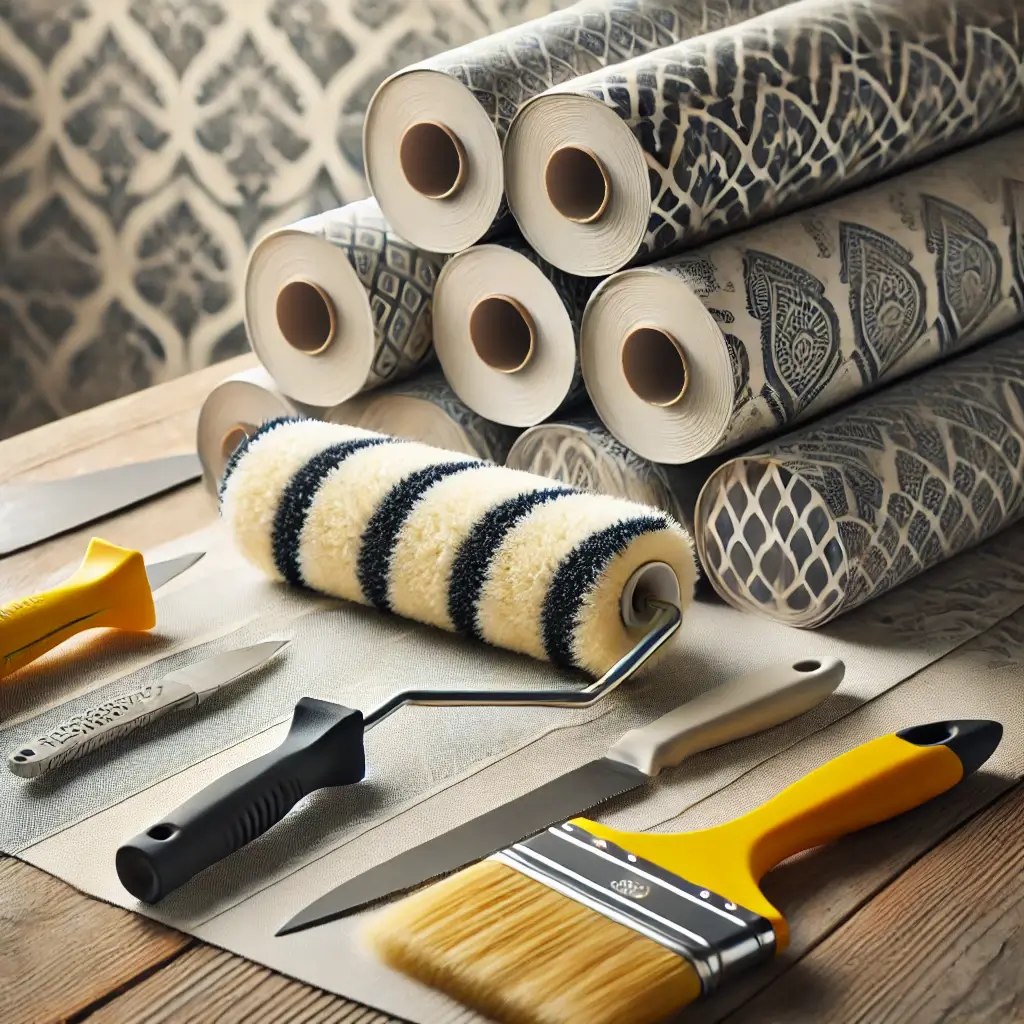
Material and tools for wallpapering
The wallpaper is ready and the wall is prepared? With the right materials, nothing more stands in your way:
Protective materials
Painter’s fleece
Cover foil
Painter’s tape
Materials list
Paste for non-woven wallpaper or paste for paper wallpaper
Wallpaper
Tool list
Folding rule
Pencil
Plumb/spirit level
Cutter knife
Wallpapering table
Bucket
Stirring rod
Paste roller/Ceiling brush
Sponge rubber roller/Pressure roller
Wallpaper brush
Seam roller
Wallpaper yourself: Instructions
The be-all and end-all of wallpapering is accuracy. Therefore, take enough time, prepare all materials and proceed step by step. Use our wallpapering instructions.
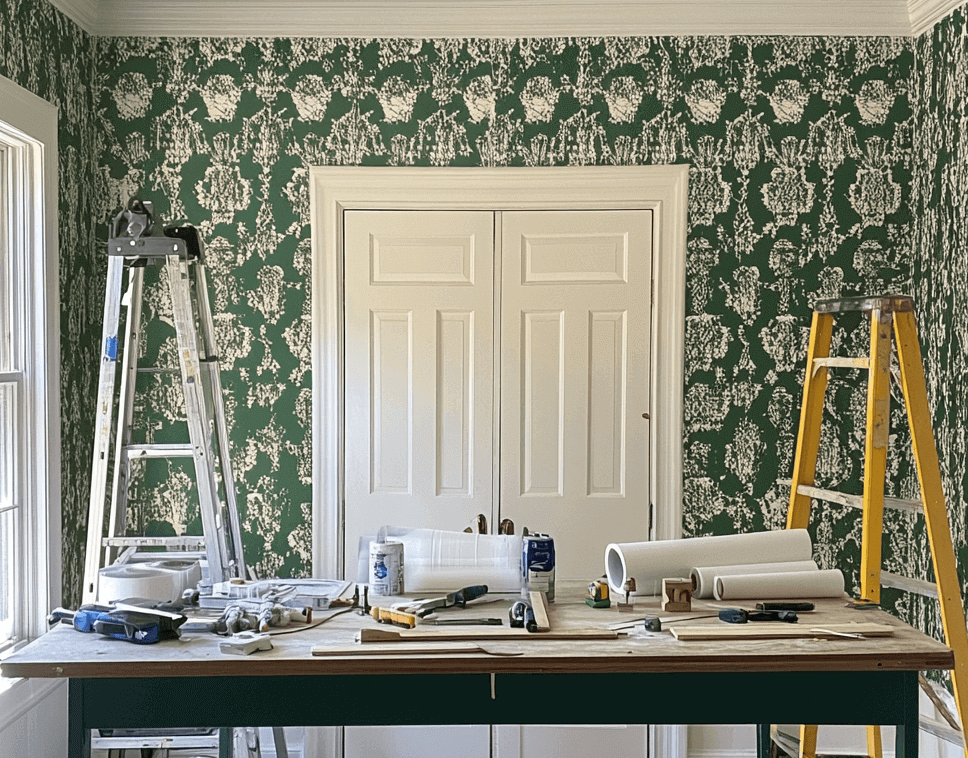
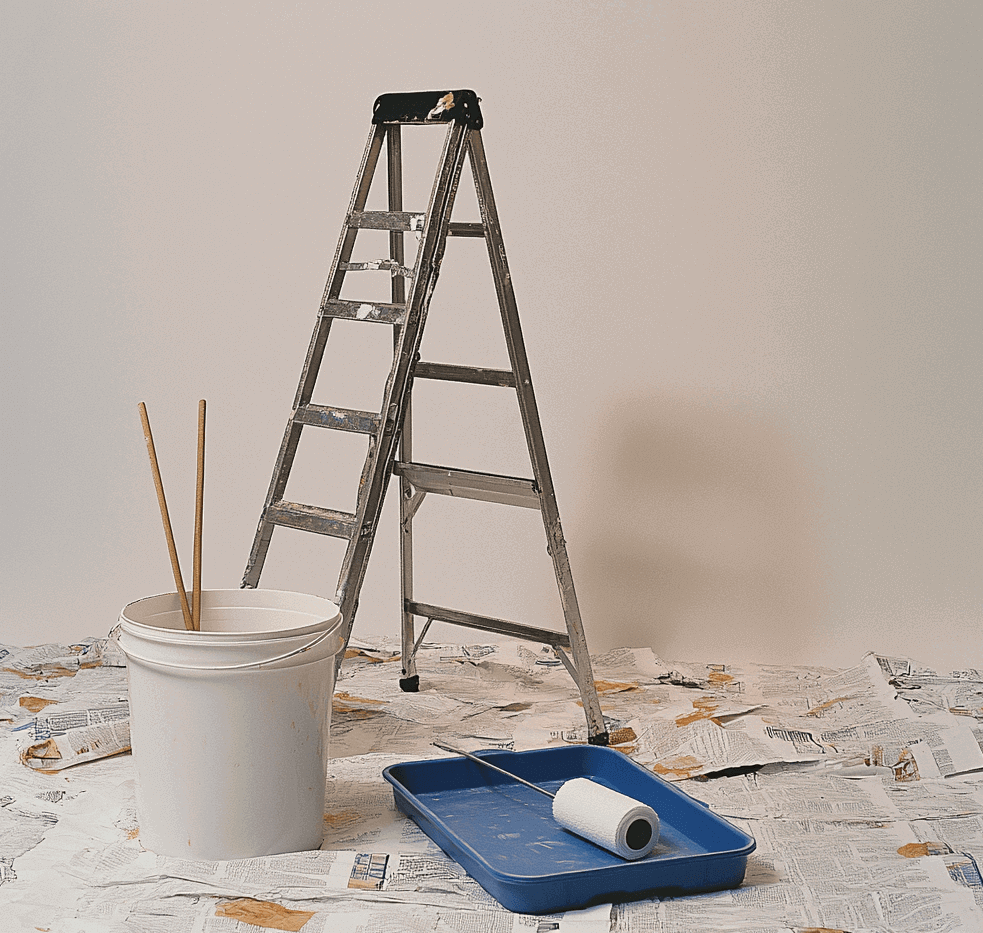
Step 1: Prepare the room for wallpapering
As with all crafts, the first thing to do is to take protective measures and safety precautions. First, turn off the electricity to the room in question. Then you can remove light switches and sockets. Also remove the skirting board for wallpapering. Place painter’s fleece on the floor so that crumbling plaster does not scratch your floor. Finally, you can put masking film on the painter’s fleece and cover any furniture in the room with it. This will make it easier for you to clean up afterwards.
Now it’s time to prepare the surface. Remove the old wallpaper and create an even surface. If you are touching up the plaster, let it dry overnight before continuing. If necessary, prime the wall with wallpaper primer and also wait one night until it has dried and soaked in.
Step 2: Measure and mark the wall
Check how wide the strips of your wallpaper are and measure the room again. Make sure you have enough wallpaper and how many strips you will need. Then mark the distance of the first strip from the corner on the wall. Since very few walls are straight, measure one to three centimetres less than the actual width of the first strip. Use the spirit level to draw a vertical line on the wall where the first track will stop.
Caution: The entire wallpaper is aligned with this mark. Therefore, make sure that the marking is perpendicular.
Now measure the height of the room. If the wallpaper is clearly too long, you can shorten the height. However, leave ten centimetres of space above and below. Only remove the overhang when the wallpaper is stuck to the wall.
Step 3: Mix and spread the paste
At this point, the procedure differs depending on the type of wallpaper. Make sure you use the right paste and mix it according to the manufacturer’s instructions. Use the bucket and stirring rod for this. As a rule, the paste has to stand for a few minutes, then you can mix it again and check that the consistency is right and that all lumps have been stirred smooth. Now turn off the heating and close the windows. This is the only way to ensure that the wallpaper dries evenly.
Instruction non-woven wallpaper
With non-woven wallpaper, you don’t even need a wallpapering table. Instead, you can apply the paste directly to the wall with the paste roller and apply the non-woven wallpaper along your markings. Proceed strip by strip and paste the wall for one width at a time.
Paper wallpaper instructions
With paper wallpaper, you do not paste the wall, but the wallpaper. Place the wallpaper on a wallpaper table, take the ceiling brush and generously and evenly coat the back of the wallpaper with paste. Allow the paste to soak in for a few minutes. In the meantime, you can paste the next strip. Fold the first strip as shown in the following video and use the wallpapering table for the next strip.
Step 4: Apply the wallpaper, align, paint firmly
Always start with the first strip where it is brightest, i.e. closest to the window. When applying the wallpaper, follow the pencil marking from step 2, working from top to bottom. Leave about five centimetres overhanging at the top and press the wallpaper first along the marked line, then across the entire width. When the strip has stuck to the wall, brush out the air bubbles with the wallpaper brush.
For the second strip, follow the intersection with the first strip. Make sure the wallpaper is butt to butt and the pattern blends seamlessly. Gently push and slide the wallpaper into position before smoothing and pressing it into place. Use the seam roller to trace the ‘seams’ between the panels.
At Arte Wallcoverings you can learn how to apply the wallpaper straight and without bubbles or creases.
Step 5: Trim overhanging ends and allow to dry
When one strip of wallpaper is attached, trim the top and bottom ends. To do this, take a wide spatula and the cutter knife, place the former on the edge and cut the wallpaper straight.
Allow sufficient drying time for the wallpaper, during which the room is neither heated nor ventilated, so that you get an even result.
Wallpapering correctly and other frequently asked questions
We have summarised the most important features of wallpapering for you. Learn how to wallpaper correctly when it comes to ceilings, windows, doors and sloping roofs.
What to consider when wallpapering ceilings?
Basically, wallpapering the ceiling is no different from wallpapering the walls. However, a few wallpapering tips are helpful for overhead work.
1. the ceiling is the first thing you start with when wallpapering.
2. Work with the incidence of light. The panels should run towards the window so that there are no shadows.
3. Switch off the power and remove ceiling lamps and sockets before you start wallpapering. When you arrive at the spot in question, first hold the wallpaper in place, then cut a cross-shaped slit in the wallpaper with a cutter and pull the cable through.
4. Mix the paste a little thicker so that the wallpaper adheres well to the ceiling.
5. Safety first. Only wallpaper the ceiling with a stable ladder and make sure that the ladder does not slip on the floor. It is best to work in such a way that you still have ten to twenty centimetres of space above your head. This protects your neck and shoulder muscles.
What are the special features of sloping roof wallpapering?
In principle, you can wallpaper sloping ceilings like a wall. It is a little trickier because you have to work against gravity. You can make this easier by wallpapering the slope first and then the knee-floor separately in a second step. This way there are fewer creases and folds in the wallpaper. Especially with patterns, however, you must make sure that you apply the wallpaper to the kneehole with a perfect fit. More experienced do-it-yourselfers can also wallpaper the pitched roof and the knee-floor in one piece.
How do you properly wallpaper around doors and windows?
If you are wallpapering a wall with a window, you should start at the window, as the reveal is the most challenging part of wallpapering. Start with the two sides of the window and then work your way to the centre.
1. First measure the width of the window reveal, add one to two centimetres allowance.
2. Subtract the calculated width of the window reveal and allowance from the width of the wallpaper strip and mark where the wallpaper strip will end next to the window. Draw a line on the wall along the entire length, as this will serve as your orientation for applying the wallpaper.
3. Paste the wallpaper or wall depending on the type and apply the wallpaper along the line. Cut the wallpaper horizontally at the window sill and the upper edge of the window.
4. Stick the wallpaper around the corner in the window reveal. Above the window, cut the wallpaper with a cutter knife.
5. Proceed in the same way on the other side. Now the window is already wallpapered on the right and left.
6. Finally, apply the wallpaper over the lintel.
Doors are somewhat easier to wallpaper than windows. Here you simply work from left to right or vice versa towards the door. When you reach the door frame, cut the wallpaper so that it fits snugly against the door frame.
At what temperature is it best to wallpaper?
The ideal room temperature for wallpapering is between 18 and 20°C. Since an even drying process is important, you should keep the windows closed and turn off the heating during and after wallpapering.
KunstLoft-Wallpapers for every room
A wallpapered decorative wall attracts attention and opens up new worlds in interior design. You now know how to wallpaper walls yourself and with enough time and preparation you will succeed in this great DIY project. Choose between different motifs and find the right wallpaper for every room: floral or abstract patterns, motifs with animals, people or natural landscapes – let KunstLoft inspire you!